Table of Contents
- 1. A Complete Guide to Safely Sterilizing Potting Soil
- 2. Why Soil Sterilization Matters
- 3. The Critical Target Temperature Range
- 4. 4 Proven Methods to Sterilize Potting Soil
- 4.1. 1. The Oven Method (Best for Consistent Heat)
- 4.2. 2. The Microwave Method (Best for Quick, Small Batches)
- 4.3. 3. The Deep-Steam Method (Best for Maximum Penetration)
- 4.4. 4. Solarization (The No-Electricity Eco Method)
- 5. Post-Sterilization Care: Restoring Biological Life
- 6. Frequently Asked Questions
- 6.1. Do I always need to sterilize fresh, store-bought potting soil?
- 6.2. Can I effectively sterilize my potting soil by pouring boiling water over it?
- 6.3. How should I store my sterilized soil after it cools down?
- 6.4. Will sterilizing soil make my house smell bad?
- 6.5. How long can I safely store a batch of sterilized soil?
A Complete Guide to Safely Sterilizing Potting Soil
Healthy potting soil is the foundation of any thriving indoor or outdoor garden. It provides young roots with structural support, stable moisture, and a balanced diet of essential nutrients. However, when your growing medium carries hidden fungus spores, microscopic weed seeds, or resilient fungus gnat larvae, even the most attentive gardeners will struggle to keep plants alive.
Sterilizing your potting mix is an easy, highly effective preventative measure. It saves time, money, and frustration, especially if you are raising delicate indoor seedlings or trying to recycle old soil from last year’s containers.
A Complete Guide to Safely Sterilizing Potting Soil
Why Soil Sterilization Matters
Many gardeners assume that a brand-new, store-bought bag of premium potting mix is automatically pristine. In reality, commercial soils frequently sit in damp warehouses, transit trucks, or outdoor nursery pallets for months at a time. This extended storage creates an ideal breeding ground for opportunistic pests, mold spores, and harmful bacteria to settle in.
The risks increase exponentially when reusing old garden soil. Last season’s dirt often harbors hidden remnants of decaying root structures, dormant pest eggs, and lingering pathogens.
[Unsterilized Soil] ➔ [Pathogen Active] ➔ [Damping-Off Disease] ➔ [Seedling Failure]
Implementing a thorough heat treatment strips away these biological hazards. Most notably, it prevents damping-off disease—a devastating fungal condition caused by pathogens like Pythium or Rhizoctonia that attack vulnerable stems, causing young seedlings to collapse and rot at the soil line almost overnight.
The Critical Target Temperature Range
When heating soil, precision is incredibly important. The entire sterilization process revolves around achieving a specific internal temperature: 180°F (82°C).
| Temperature | Biological Impact |
| 140°F (60°C) | Kills most plant viruses, active fungi, and larger soil insects. |
| 160°F (71°C) | Eliminates the vast majority of plant pathogenic bacteria and fungi. |
| 180°F (82°C) | The Sweet Spot. Eradicates resilient weed seeds and tough viruses. |
| 200°F+ (93°C+) | Danger Zone. Destroys organic soil structure, burns nutrients, and releases toxic plant compounds. |
Warning: Do not let your soil temperature exceed 200°F (93°C). Overheating causes the organic matter to break down, releasing an unpleasant burnt odor and manufacturing harmful byproducts that can actually stunt future root development.
4 Proven Methods to Sterilize Potting Soil
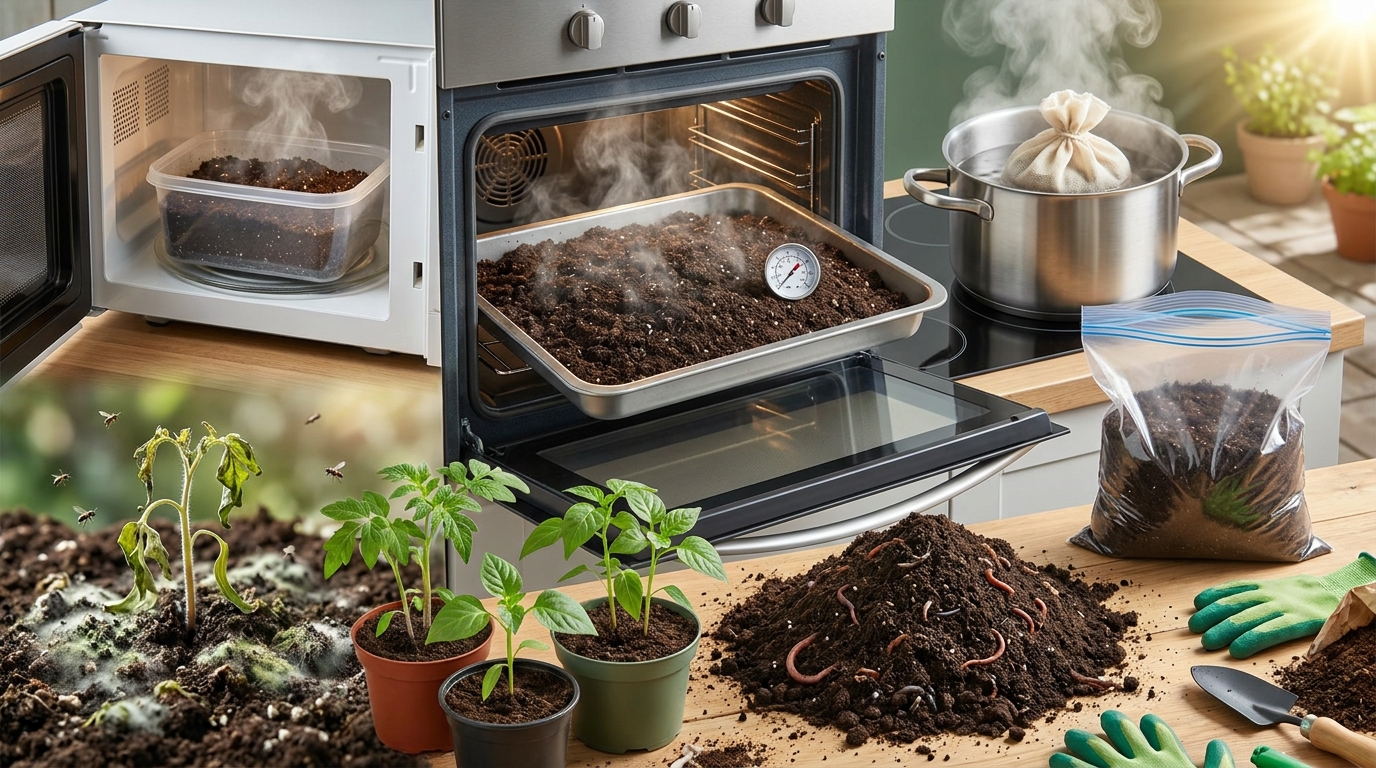
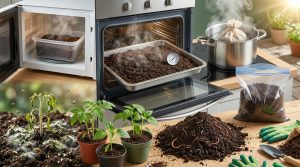
1. The Oven Method (Best for Consistent Heat)
The kitchen oven provides uniform, highly controllable heat, making it the most reliable choice for medium-sized batches of soil.
Prep: Lightly mist your soil with water until it is evenly damp (like a wrung-out sponge). Dampness ensures that steam forms, allowing heat to conduct evenly to the center of the pile.
Process: Spread the moist soil into a deep metal baking pan, keeping the depth under 4 inches. Cover the pan tightly with aluminum foil. Poke a meat or candy thermometer directly through the foil into the absolute center of the soil mass.
Bake: Place the pan into a preheated oven set to a low temperature (around 200°F to 225°F). Monitor the thermometer closely. Once the core temperature of the soil hits 180°F, keep it baking at that exact temperature for 30 minutes. Remove from the oven and leave the foil on until it cools completely.

2. The Microwave Method (Best for Quick, Small Batches)
If you only need a few quarts of clean soil to start a small tray of indoor seeds, the microwave is incredibly fast and efficient.
Prep: Moisten the potting soil thoroughly.
Process: Fill clean, microwave-safe plastic containers or heavy-duty plastic bags with the damp mix. Ensure the containers have a vented lid or leave the plastic bag slightly unzipped at the top. Never seal the container completely, as expanding steam can cause a dangerous pressure explosion.
Heat: Microwave the batch on high for 90 seconds to 2 minutes per quart of soil.
Tip: Pause the microwave halfway through the cycle to stir the soil thoroughly with a clean utensil. This prevents “cold spots” and ensures the entire batch reaches the target pasteurization temperature. Leave the containers sealed while they cool to let the residual steam finish the job.
3. The Deep-Steam Method (Best for Maximum Penetration)
Steam sterilization provides superb, deep moisture penetration, making it ideal for pasteurizing dense, organic compost mixes.
Setup: Pour roughly 1 to 2 inches of water into the bottom of a large kitchen stockpot or pressure cooker, then insert a elevated steaming basket or colander.
Process: Wrap your damp potting soil in a clean, porous cloth bag or pillowcase and place it into the steaming basket.
Cook: Bring the water to a boil, cover the pot tightly with its lid, and let the trapped steam envelope the soil bag. Steam the batch for 30 minutes. Once completed, allow the soil package to cool completely before opening.
4. Solarization (The No-Electricity Eco Method)
If you live in a hot, sunny climate and have several weeks to spare before planting season, you can let the sun do all the work.
Process: Take your damp potting mix, place it inside thick, clear plastic heavy-duty contractor bags, and seal them tightly with zip ties.
Placement: Lay the bags flat on a sunny concrete driveway, patio, or lawn area that receives uninterrupted, direct sunlight throughout the day.
Duration: Leave the bags exposed to the baking sun for 4 to 6 weeks. The greenhouse effect will trap solar energy, raising internal temperatures high enough to gradually weaken and eliminate pathogens without consuming a single watt of home electricity.
Post-Sterilization Care: Restoring Biological Life
Because heat treatment is non-selective, it acts as a biological reset button—it eradicates the bad pathogens, but it also eliminates the beneficial microbes, healthy fungi, and natural bacteria that assist with nutrient absorption.
To give your sterilized soil its vitality back before planting, you can easily re-inoculate the cooled medium with beneficial biology. Simply fold in a small handful of fresh, high-quality worm castings, premium organic compost, or commercial mycorrhizae root supplements. This introduces an army of helpful microbes into a perfectly clean environment, ensuring your plants grow robustly without having to compete against pests or diseases.
Frequently Asked Questions
Do I always need to sterilize fresh, store-bought potting soil?
No, it isn’t strictly mandatory for everyday gardening. Most high-quality commercial potting mixes are perfectly safe to use straight out of the bag. However, sterilization becomes highly beneficial if you notice an outbreak of fungus gnats, see fuzzy mold growing on the surface of the bag, or are preparing to sprout expensive, delicate, or rare seeds indoors.
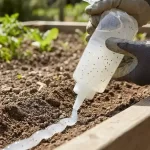
Can I effectively sterilize my potting soil by pouring boiling water over it?
Pouring boiling water over a container of dry dirt is generally ineffective. While the boiling water will instantly sanitize the very top layer of soil, it cools down dramatically as it percolates through the mix. The core and bottom layers of the soil rarely reach the required 180°F threshold long enough to kill resilient weed seeds or deep-seated fungal spores.
How should I store my sterilized soil after it cools down?
To prevent airborne mold spores, dust, or roaming insects from instantly re-contaminating your clean soil, transfer the completely cooled potting mix into heavy-duty, airtight plastic storage bins or thick, sealed zip-top bags. Keep the containers stored in a cool, dry place out of direct sunlight.
Will sterilizing soil make my house smell bad?
Depending on the specific organic components within your potting mix (such as bat guano, fish meal, or composted manure), baking soil in an oven can occasionally release a strong, earthy, or pungent odor. If you are sensitive to smells, utilizing the microwave or deep-steam methods under a kitchen exhaust fan—or choosing the outdoor solarization method—is highly recommended.
How long can I safely store a batch of sterilized soil?
If kept tightly sealed in an airtight container away from ambient moisture and environmental contaminants, sterilized potting soil can easily remain clean and ready to use for several months. Always inspect the soil visually for any unexpected moisture buildup or signs of mold before using it for new plantings.